Masala Menu

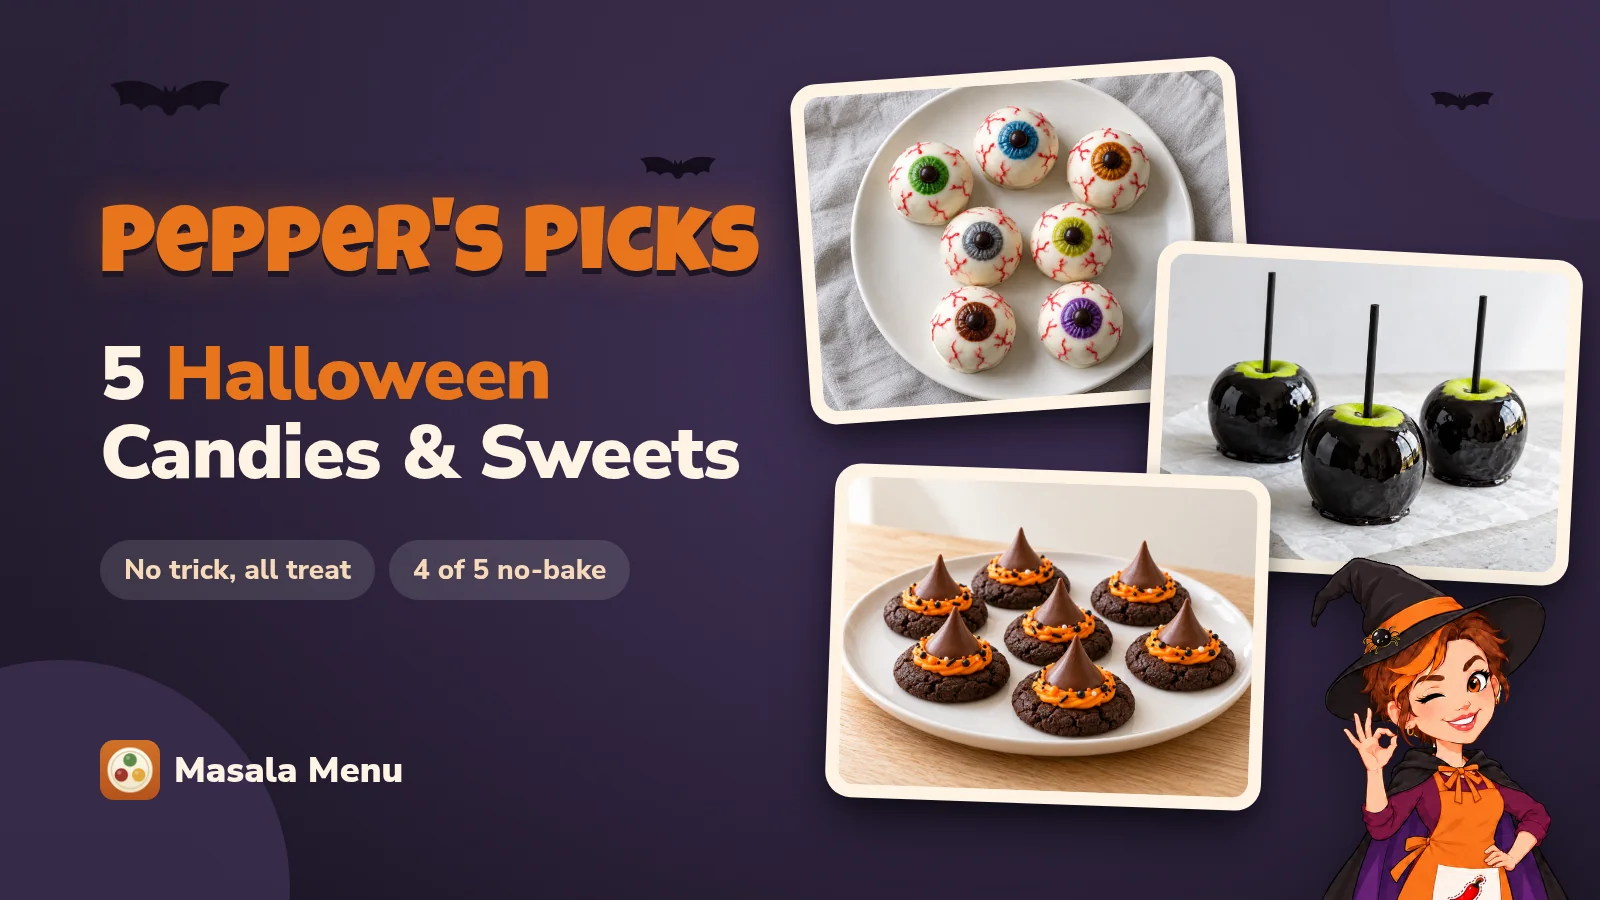
Trick-or-treaters get the store-bought stuff. The people you love get the good stuff. Here are my five favorite homemade Halloween sweets, from cute to creepy: eyeball truffles, swirled fudge, witch hat cookies, black poison apples and, at number one, a Monster Munch mix that feeds the whole party.
Homemade candy sounds fiddly, but these five are easier than they look, and most are done in under two hours (the fudge needs four in the fridge, so start that one first). I picked five that look nothing alike: one dipped and painted, one swirled in a pan, one stacked, one dipped whole in black glass and one tossed in a bowl.
My five sweets at a glance
| # | Sweet | Time | Makes | Level |
|---|---|---|---|---|
| 5 | Eyeball Truffles | About 1 hr 15 min | 36 | Easy |
| 4 | Halloween Fudge | 30 min + 4 hr chill | 36 pieces | Easy |
| 3 | Witch Hat Cookies | 1 hr 30 min | 60 | Easy |
| 2 | Poison Apples | 50 min | 6 | Medium (hot sugar) |
| 1 | Monster Munch | 45 min | 32 servings | Easy |
5. Eyeball Truffles (RecipeGirl)
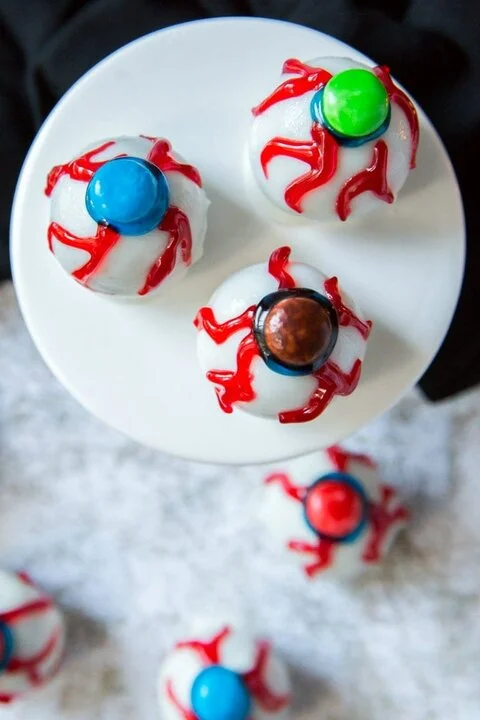
I’m starting with the ones that stare back: bloodshot, a little gross and completely no-bake. Crushed Oreos and cream cheese are rolled into balls, frozen until firm, then dipped in melted white candy melts. Once the shell sets, red icing squiggled out from the center makes the veins, a dot of blue icing makes the iris, and an M&M finishes the pupil. Every eyeball comes out a little different, which is the point.
- Time: about 1 hour 15 minutes, including 20 minutes in the freezer · Makes: 36 · Level: easy
- Why I picked it: no oven, five ingredients, and three dozen eyes staring up from the plate.
- Pepper’s tip: freeze the balls before you dip them, so they hold their shape in the warm coating.
- Good for: kids decorating, bake sales, anyone without an oven to spare.
4. Halloween Fudge (Love In My Oven)
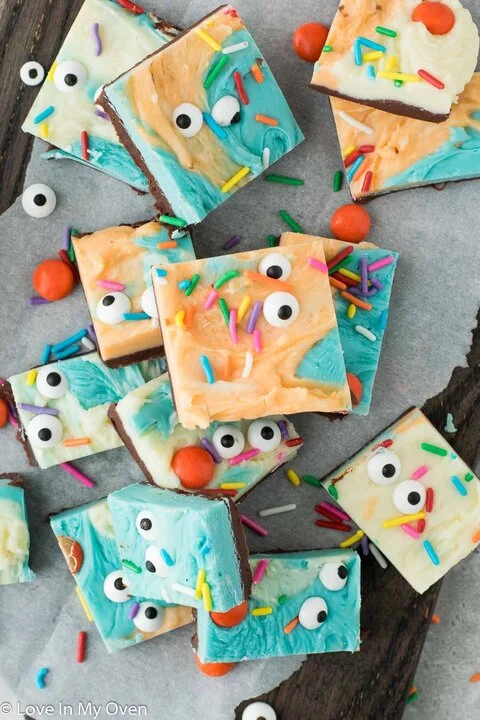
This is the one I’d make first, because it needs a night in the fridge. One can of sweetened condensed milk is split three ways: a third is melted with dark chocolate chips for the base, the rest goes with white chocolate chips and blue candy melts, and half the white is tinted orange. Spoon the blue, white and orange fudge over the dark layer, spread it, then press candy eyes, sprinkles and Reese’s Pieces into the top. It’s all done in the microwave.
- Time: 30 minutes, plus 4 hours in the fridge · Makes: 36 pieces · Level: easy
- Why I picked it: no candy thermometer and no stove, and the slab cuts into neat squares for gifting.
- Pepper’s tip: spread the colors with a few strokes and stop. Over-swirling turns them muddy.
- Good for: making ahead, treat bags, teachers’ gifts.
3. Witch Hat Cookies (Crayons & Cravings)
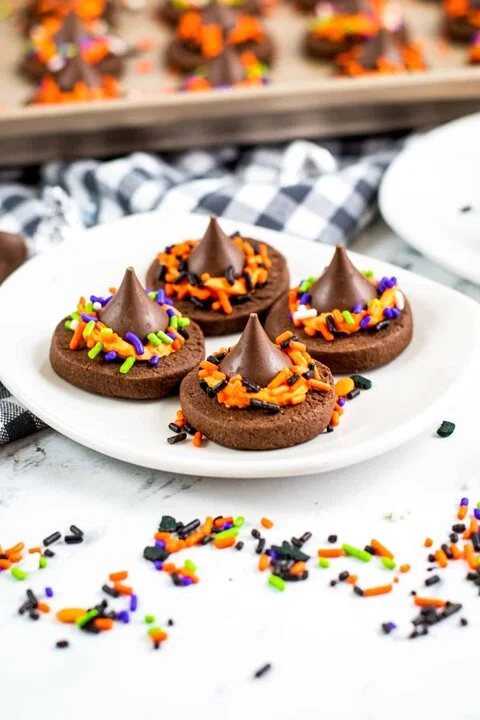
The cutest thing on your table, and my favorite to decorate with friends. Chocolate cookies are made from scratch as a slice-and-bake log, so they come out perfectly round. A dot of orange buttercream sticks a Hershey’s Kiss to the middle of each one for the point of the hat, then more buttercream is piped around the Kiss for the band, with Halloween sprinkles on top.
- Time: 1 hour 30 minutes, including an hour chilling the dough · Makes: 60 · Level: easy
- Why I picked it: one batch makes five dozen, and the decorating is quick enough to do as a family.
- Pepper’s tip: unwrap all the Kisses before you start piping, so each hat goes on while the buttercream is soft.
- Good for: class parties, big trays, decorating with kids.
2. Poison Apples (Everyday Eileen)
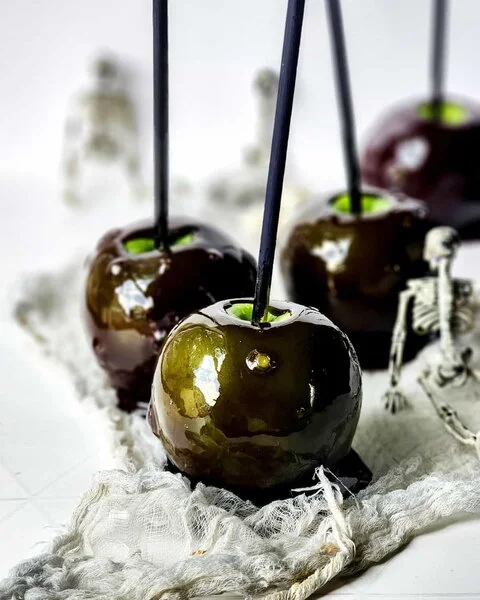
Fit for an evil queen, and my pick for the centerpiece. Sugar, corn syrup and water are dyed black and boiled to 290°F, the hard-crack stage, and Granny Smith apples on sticks are dipped and swirled a few times for a thick, glossy coat. Dip while the syrup is still bubbling and the shell sets with a bubbly, potion-like finish. Against the black, the sour green apple inside is the best surprise of the night.
- Time: 50 minutes, including 30 minutes to harden · Makes: 6 · Level: medium
- Why I picked it: nothing else looks this dramatic for seven ingredients and under an hour.
- Pepper’s tip: use a candy thermometer. At 290°F the coating snaps; below it, it stays sticky.
- Good for: a centerpiece, grown-up parties, photos.
1. Monster Munch (Life Made Simple)
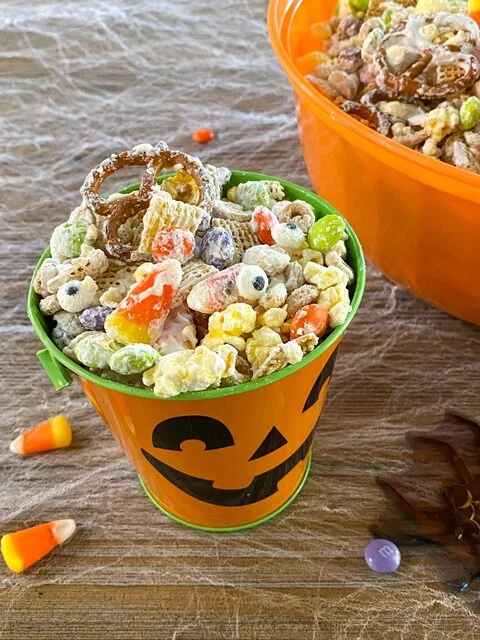
My number one, and the one that feeds the whole party. Popcorn, Corn Chex, pretzel twists, peanuts, Cheerios, Halloween M&M’s, candy corn and candy eyes are tossed in melted white candy melts, spread on trays to set, then broken into clusters. Sweet, salty and crunchy, it disappears by the handful, and as the recipe says, kids will love helping make it.
- Time: 45 minutes, including 30 minutes setting · Serves: 32 · Level: easy
- Why I picked it: one big bowl, no baking, and 32 servings: the easiest way to feed a crowd.
- Pepper’s tip: spread it thin on the trays, so it breaks into bite-size clusters instead of one big slab.
- Good for: parties, movie nights, filling treat bags.
Make them all by Saturday
Halloween is Saturday, October 31. Here’s how I’d spread the five out, so you get all of them on the table without a frantic afternoon:
- Thursday night: the fudge, so it chills overnight.
- Friday: the eyeball truffles and the witch hat cookies. Both keep well for a day.
- Saturday: the Monster Munch and the poison apples, so the popcorn stays crisp and the candy shell stays shiny.
Check each recipe for its own storage notes before you start.
A note on allergies
The Monster Munch has peanuts, and the fudge’s Reese’s Pieces are made with peanut butter. If someone at your party has a nut allergy, the Monster Munch works without the peanuts (add more pretzels or popcorn), and plain candy-coated chocolates or sprinkles can top the fudge instead. Check the labels on candy melts and decorations too, since many are made in factories that handle nuts.
Save the links in Masala Menu
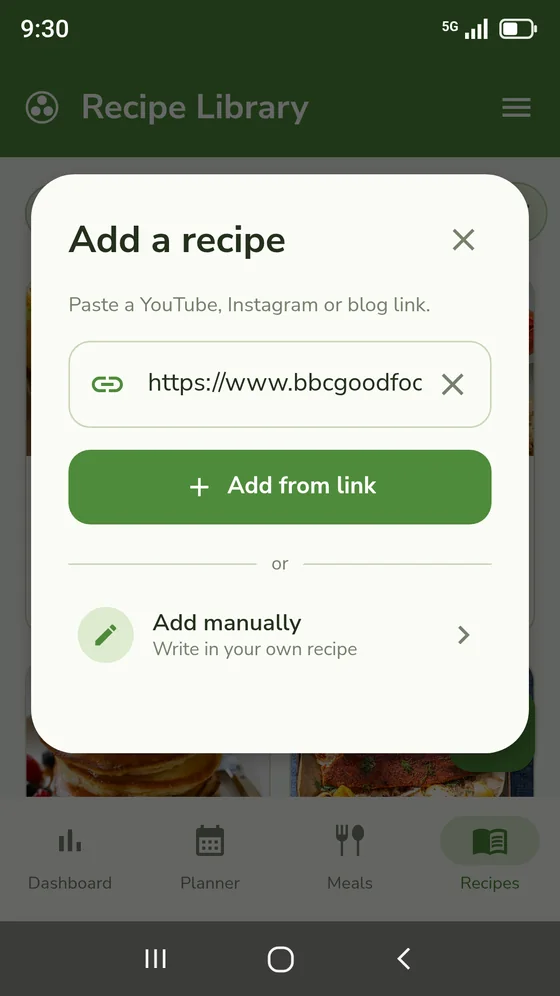
Five recipes across three days is a lot of open tabs. I keep mine together in Masala Menu, and here’s how you can too:
- Copy each recipe’s link from the five pages above.
- Paste it into Add a recipe. The app fills in the title, photo, ingredients and method wherever the page publishes them.
- Tag them “halloween”, so next October they’re one filter away.
- Plan them on the days you’re making them: the fudge on Thursday, the truffles and cookies on Friday, the rest on Saturday. With Pro, write what you need onto that week’s grocery list.
New to saving recipes from links? Here’s how recipes work in Masala Menu. Baking too? Here are my 5 best Halloween cakes, from a 35-minute monster eye cake to a bleeding skull showstopper.
Whichever sweets you make, don’t chase perfect. A wonky eyeball or a lopsided hat only makes them more fun. Make them with friends or kids, fill a bowl or a few treat bags, and keep a handful back for yourself, because homemade candy never lasts the night.
Happy making, and happy Halloween! 🎃👻